How to Install and Use 3D Resource Packs in Minecraft? It’s like adding a whole new dimension to your favorite game. Imagine your blocks, weapons, and even your entire world taking on a whole new level of detail, transforming Minecraft into a visually stunning experience.
3D resource packs are the secret weapon to achieving this, bringing your Minecraft world to life with realistic textures and immersive environments.
From finding the perfect pack to customizing it for optimal performance, this guide will walk you through every step, ensuring you can unlock the full potential of 3D resource packs and create a Minecraft world that truly reflects your vision.
Understanding 3D Resource Packs
3D resource packs are a type of Minecraft modification that enhances the game’s visuals by replacing 2D textures with 3D models. These models are typically created using software like Blender or Maya, and they can be used to create realistic, stylized, or even completely abstract visuals for your Minecraft world.
Benefits of Using 3D Resource Packs
Using 3D resource packs offers several benefits for Minecraft players, including:
- Enhanced Visuals:3D models bring a new level of depth and detail to the game, making your world look more realistic and immersive.
- Unique Aesthetics:3D resource packs allow you to customize the look of your Minecraft world with unique styles and themes, from realistic to whimsical.
- Improved Immersion:By replacing flat textures with 3D models, these packs can create a more immersive and engaging gameplay experience.
Examples of Popular 3D Resource Packs
There are many popular 3D resource packs available for Minecraft, each with its own unique features and style. Here are a few examples:
- VanillaPlus:This resource pack aims to enhance the vanilla Minecraft experience with subtle 3D details, making the game feel more polished and refined.
- Conquest:Conquest is a popular resource pack that adds a medieval fantasy aesthetic to Minecraft, with detailed 3D models for structures, weapons, and armor.
- BetterVanillaBuilding:This resource pack focuses on improving the look of vanilla Minecraft blocks with 3D models, making them more visually appealing and easier to build with.
Finding and Downloading 3D Resource Packs
Finding and downloading 3D resource packs is relatively easy, but it’s important to choose reputable sources to ensure the safety and quality of the packs you download.
Reliable Sources for 3D Resource Packs
Here are some reliable sources where you can find high-quality 3D resource packs:
- Planet Minecraft:Planet Minecraft is a popular website dedicated to Minecraft mods, resource packs, and other community-created content. It has a large selection of 3D resource packs, with reviews and ratings to help you choose the right one.
- CurseForge:CurseForge is another popular website for Minecraft mods and resource packs, with a focus on community-created content and a user-friendly interface.
- Minecraft Forums:The official Minecraft forums are a great place to find discussions about 3D resource packs, as well as links to download them.
Downloading and Extracting 3D Resource Packs
Once you’ve found a 3D resource pack you want to download, the process is fairly straightforward:
- Download the resource pack file:This will typically be a ZIP file containing the 3D models and textures.
- Extract the contents of the ZIP file:You can use a file compression program like 7-Zip or WinRAR to extract the files.
- Locate the extracted folder:This folder will contain the resource pack files, which you’ll need to install into your Minecraft game.
Installing 3D Resource Packs in Minecraft: How To Install And Use 3D Resource Packs In Minecraft
Installing 3D resource packs in Minecraft is a simple process that involves placing the extracted files in the correct location within your game directory.
Step-by-Step Guide to Installing 3D Resource Packs

- Open your Minecraft game directory:You can find this by going to the “Installations” section in the Minecraft launcher and clicking on the “Open Game Dir” button.
- Navigate to the “resourcepacks” folder:This folder is where you’ll store your resource packs.
- Place the extracted resource pack folder inside the “resourcepacks” folder:Make sure the folder is named appropriately so you can easily identify it later.
- Launch Minecraft and select the resource pack:Once you’ve launched Minecraft, go to the “Options” menu and select “Resource Packs.” You should see your newly installed resource pack listed here.
- Enable the resource pack:Select the resource pack you want to use and click the “Done” button.
Using Resource Pack Folders and Subfolders
Some 3D resource packs may come with multiple folders or subfolders within the main resource pack folder. These folders typically contain specific assets for different aspects of the game, such as blocks, items, or entities. It’s important to make sure these folders are placed correctly within the resource pack folder, otherwise the pack may not work properly.
Troubleshooting Installation Issues
If you encounter any issues installing a 3D resource pack, try the following troubleshooting steps:
- Make sure the resource pack is compatible with your Minecraft version:Some resource packs are only compatible with specific versions of Minecraft. Check the resource pack description for compatibility information.
- Verify that the resource pack files are extracted correctly:Make sure all the necessary files are present and in the correct location within the resource pack folder.
- Restart your Minecraft game:Sometimes restarting Minecraft can resolve installation issues.
Configuring 3D Resource Packs
Once you’ve installed a 3D resource pack, you can configure it to your liking by adjusting settings within the Minecraft game.
Enabling and Disabling 3D Resource Packs

To enable or disable a 3D resource pack, follow these steps:
- Open the “Options” menu in Minecraft:This can be accessed from the main menu or while playing the game.
- Select “Resource Packs”:This will open the resource pack selection screen.
- Select or deselect the resource pack you want to enable or disable:The selected resource packs will be enabled, while the deselected ones will be disabled.
- Click the “Done” button:This will save your changes and apply the selected resource pack.
Customizing 3D Resource Packs
Some 3D resource packs may offer additional customization options, such as:
- Changing the texture resolution:This allows you to adjust the quality of the 3D models, trading performance for visual fidelity.
- Enabling or disabling specific features:Some resource packs may have optional features that you can enable or disable, such as custom animations or particle effects.
- Adjusting lighting and shading:This allows you to fine-tune the way 3D models are rendered, creating different visual styles.
Optimizing Performance
3D resource packs can sometimes impact performance, especially on older or less powerful computers. Here are some tips for optimizing performance when using 3D resource packs:
- Reduce texture resolution:Lowering the texture resolution can reduce the amount of data that needs to be processed, improving performance.
- Disable unnecessary features:If a resource pack has optional features that you don’t need, disabling them can improve performance.
- Adjust graphical settings:Lowering the graphical settings in Minecraft, such as the render distance or the number of particles, can also help improve performance.
Using 3D Resource Packs in Minecraft
Once you’ve installed and configured a 3D resource pack, you can start using it to enhance your Minecraft experience.
Visual Impact of 3D Resource Packs
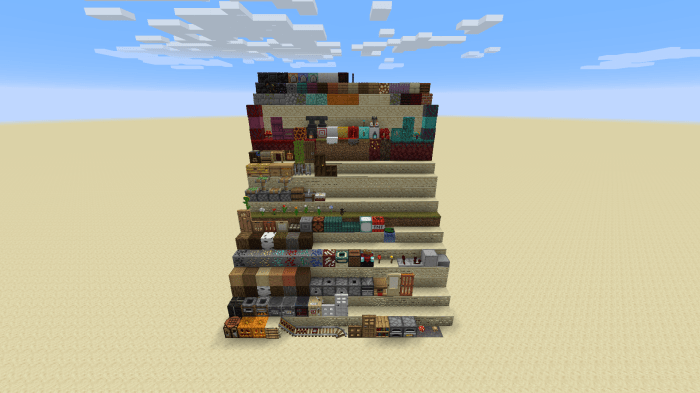
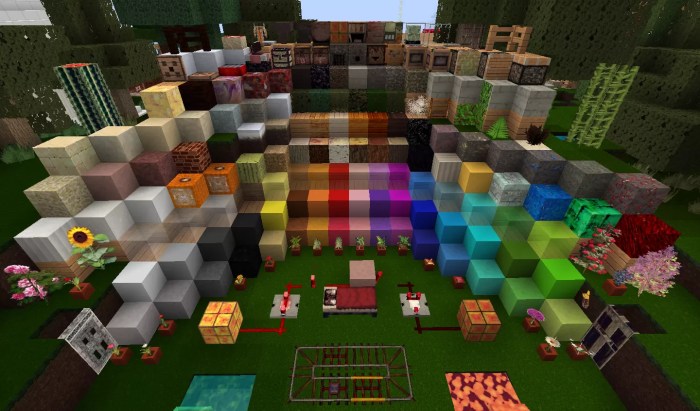
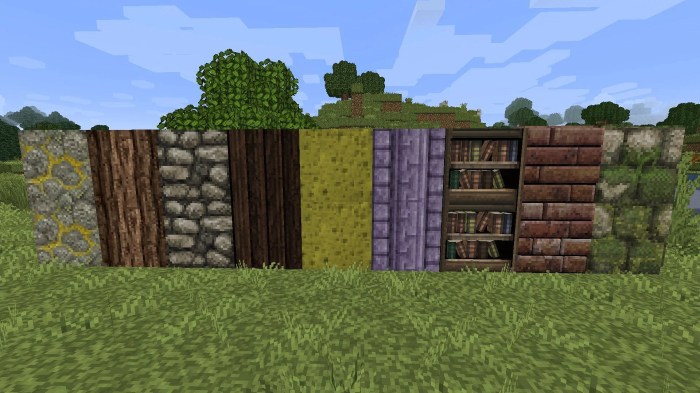
3D resource packs can dramatically change the look of your Minecraft world. They replace flat textures with 3D models, adding depth, detail, and realism to everything from blocks and items to mobs and structures.
Impact on Gameplay
3D resource packs can also have an impact on gameplay, both positive and negative:
- Improved immersion:3D models can create a more immersive and engaging gameplay experience, making the world feel more alive and believable.
- Enhanced building experience:3D models can make building structures more enjoyable, as you can see the results of your work in greater detail.
- Performance issues:3D resource packs can sometimes cause performance issues, especially on older or less powerful computers.
Tips for Using 3D Resource Packs Effectively
Here are some tips for using 3D resource packs effectively:
- Choose a resource pack that matches your playstyle:If you prefer a realistic aesthetic, look for resource packs with detailed models. If you prefer a more whimsical or stylized look, there are plenty of options available.
- Experiment with different resource packs:Try out different resource packs to see which ones you like best. You can even combine multiple resource packs to create a unique look for your world.
- Adjust settings for optimal performance:If you encounter performance issues, try adjusting the resource pack settings or your Minecraft graphical settings to improve performance.
Creating Your Own 3D Resource Packs
If you’re feeling creative, you can create your own 3D resource packs to customize Minecraft even further.
3D Modeling Software, How to Install and Use 3D Resource Packs in Minecraft

To create 3D models for resource packs, you’ll need to use 3D modeling software. Some popular options include:
- Blender:Blender is a free and open-source 3D modeling software that is popular among beginners and professionals alike.
- Maya:Maya is a professional-grade 3D modeling software that is widely used in the film and game industries.
- Cinema 4D:Cinema 4D is another popular 3D modeling software that is known for its user-friendly interface and powerful features.
Creating Custom Textures and Models
The process of creating custom textures and models for a 3D resource pack involves the following steps:
- Model the 3D object:Use your chosen 3D modeling software to create the 3D model of the object you want to replace in Minecraft.
- Apply textures:Create or import textures for the model, using image editing software like Photoshop or GIMP.
- Export the model and textures:Export the model and textures in a format compatible with Minecraft, such as OBJ or PNG.
- Organize the files:Place the model and texture files in the correct folders within your resource pack.
Resources and Tutorials for Beginners
There are many resources available online to help you learn how to create 3D models and textures for Minecraft resource packs. Here are a few suggestions:
- Blender tutorials:There are countless tutorials available on YouTube and other websites that teach you how to use Blender to create 3D models.
- Minecraft resource pack tutorials:Websites like Planet Minecraft and CurseForge offer tutorials on creating and using resource packs.
- Minecraft modding communities:Join online communities dedicated to Minecraft modding, where you can ask questions and get help from experienced modders.
Closure
So, there you have it – the ultimate guide to mastering 3D resource packs in Minecraft. With the right knowledge and a little creativity, you can transform your Minecraft world into a visually stunning and immersive experience. From finding the perfect packs to customizing them to your liking, you now have the tools to unleash your inner Minecraft architect and build a world that truly stands out.
Get ready to explore, experiment, and let your imagination run wild with 3D resource packs!
Quick FAQs
Can I use 3D resource packs on all Minecraft versions?
Not all 3D resource packs are compatible with every Minecraft version. Make sure to check the pack’s description for compatibility information.
How do I know if a 3D resource pack is safe to download?
Always download from reputable sources like Planet Minecraft or CurseForge. Look for reviews and user ratings to gauge the pack’s safety and quality.
What happens if my computer can’t handle a 3D resource pack?
You might experience lag or performance issues. You can try lowering the graphics settings in Minecraft or choosing a less demanding 3D resource pack.